In the following, you will find how to:
- Connect Meeting Scheduler Calendar
- Create a Scheduler Calendar page
- Connect your Scheduler Calendar to a list
Connecting Meeting Scheduler Calendar
Meeting Scheduler is an add-on, make sure that you install it or have it as part of your plan, please contact our support if you would like to avail of this add-on:
To connect the calendar you have 2 options.
First option is to go to Social module on the right hand side panel and connect it here: Connect an account that has a Google Calendar, Exchange Calendar, or Outlook.com calendar:


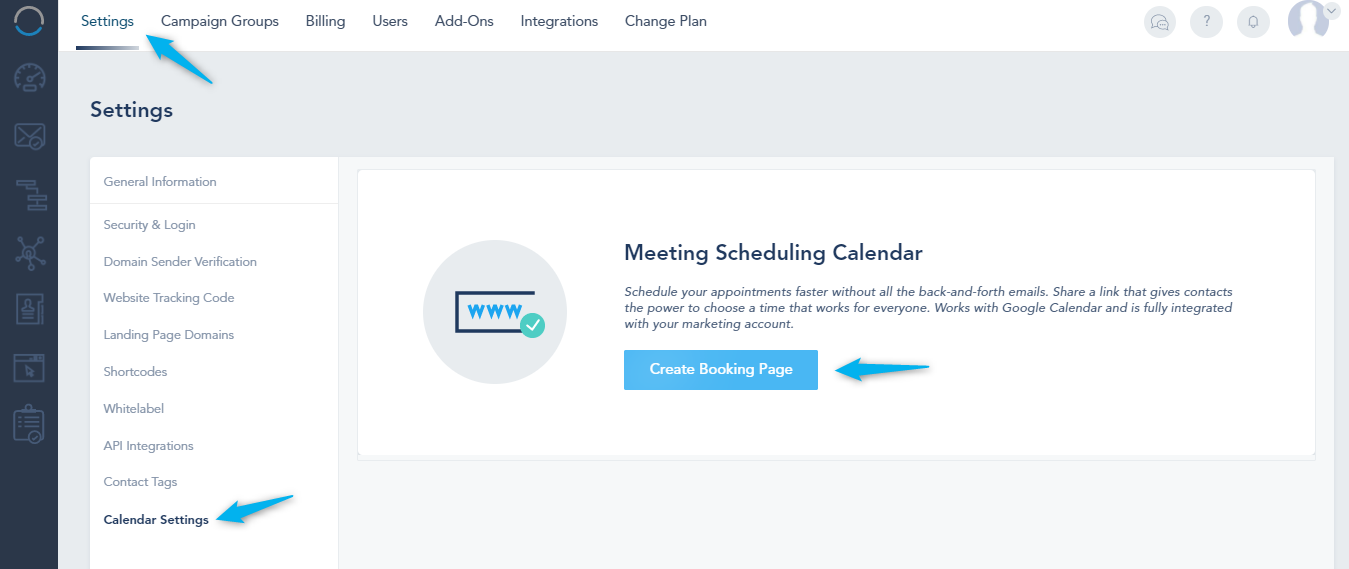
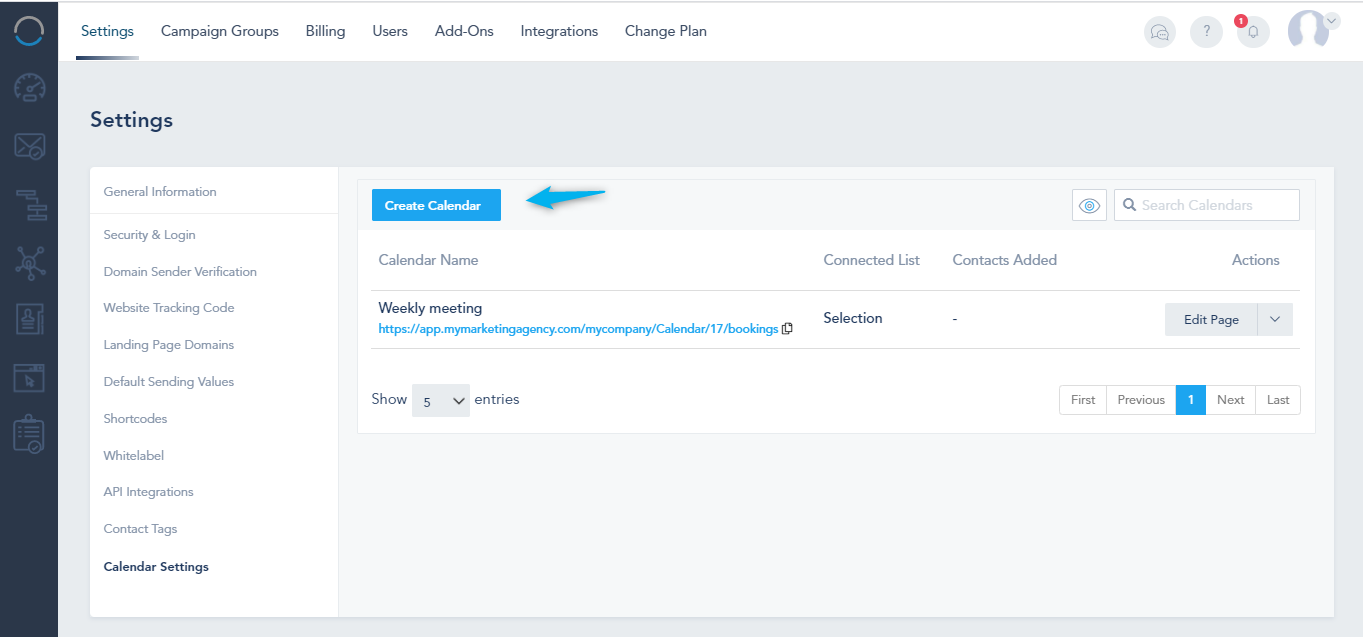
The second option is to go to Settings, Calendar Settings, Create Booking Page:
Creating a scheduling calendar page
Once you click here, you can click connect under choose account and connect the calendar:
Note that you should give the calendar booking page a name.
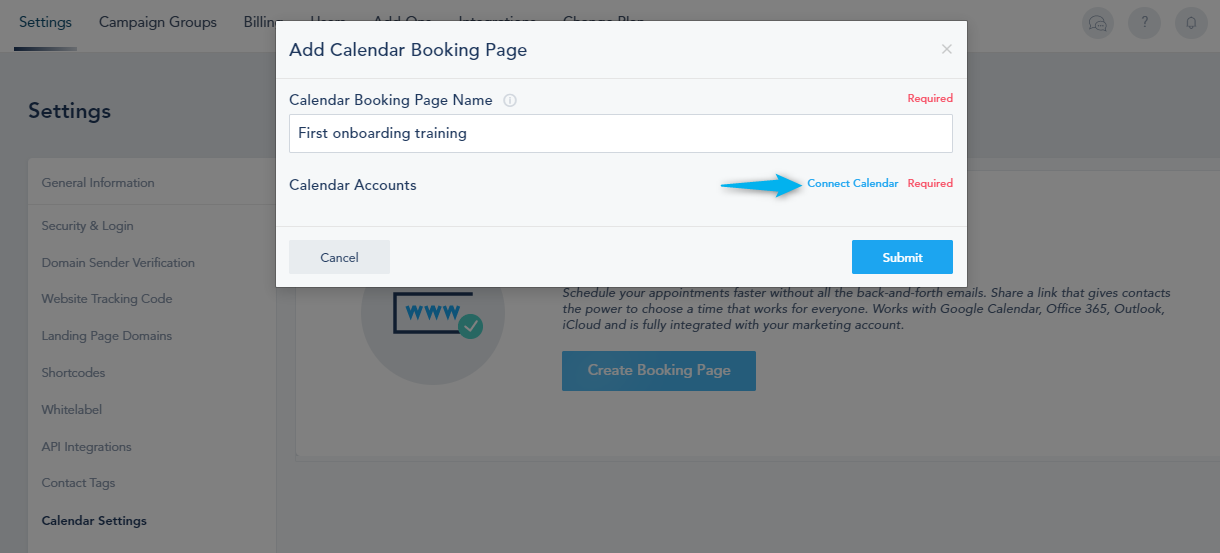
If you have more than one account connected, you can choose which one to turn on:

Once you click Submit, the settings will open, you can change the name, the location or add a GotoWebinar link, the duration and all the details.

Calendars: Choose the calendar to be used for availability and booking:

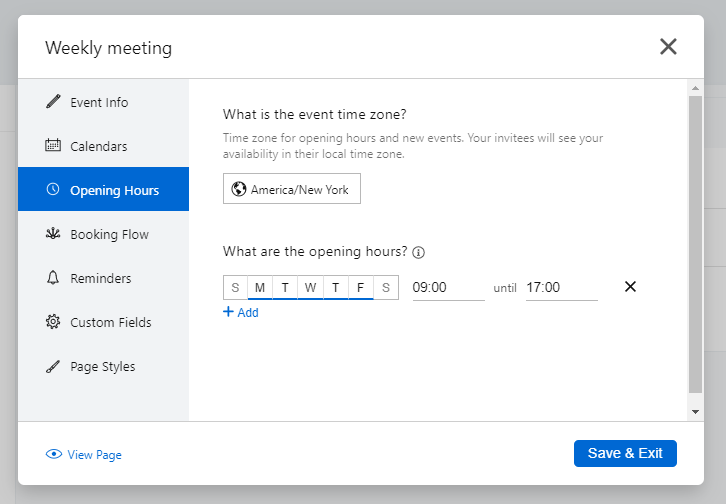
Opening hours: Choose the event’s time zone along with the opening hours:
Booking Flow: Choose how the new bookings should be handled and what happens after a booking is completed:

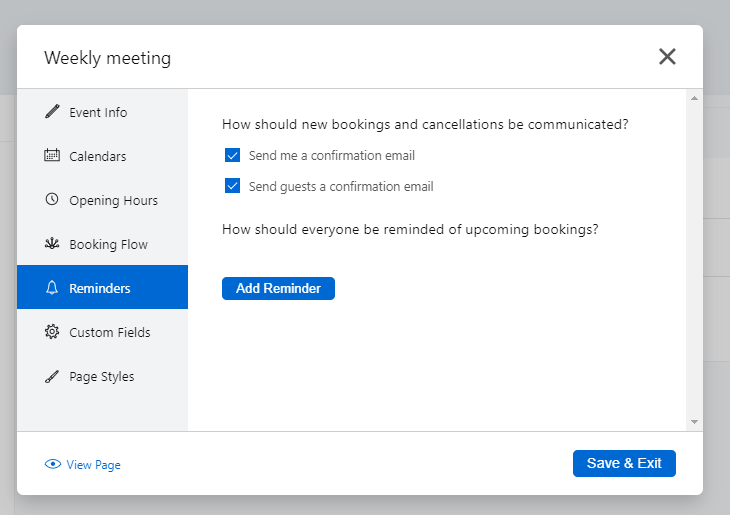
Reminders: Choose to send a confirmation email, or add reminders:
Custom Fields: What are the fields that the guest should provide:
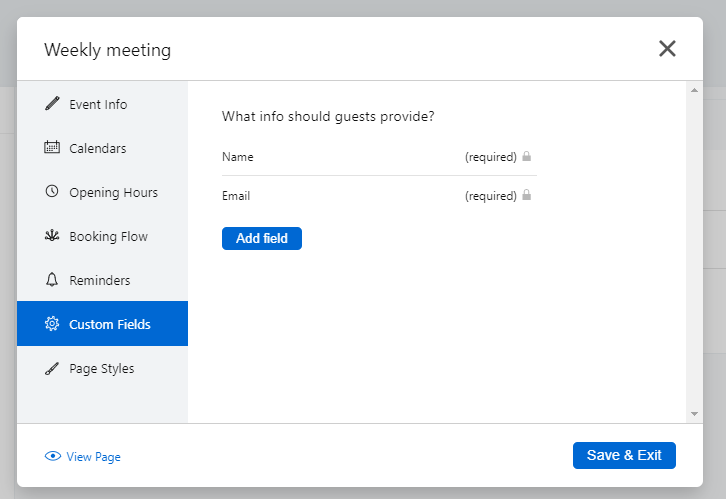
If you choose to add a new field, label it, choose its type and if you want it as required or not:

Page Styles: Edit the page where the prospects will book:

Once you finish, you can click on View Page to check its style:

To create another calendar, go to Settings, Calendar Settings, and click on Create Page:
Connecting your Scheduling Calendar to a list
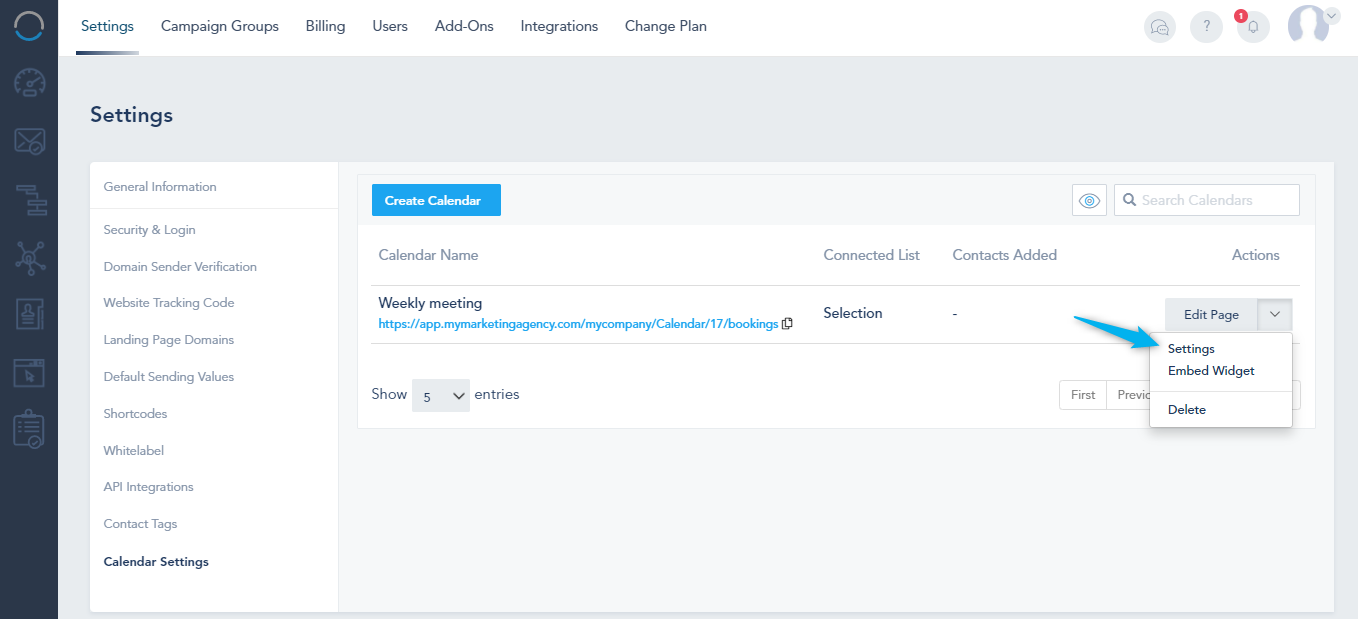
To choose the list, click on the drop-down arrow next to the calendar name and click on Settings:
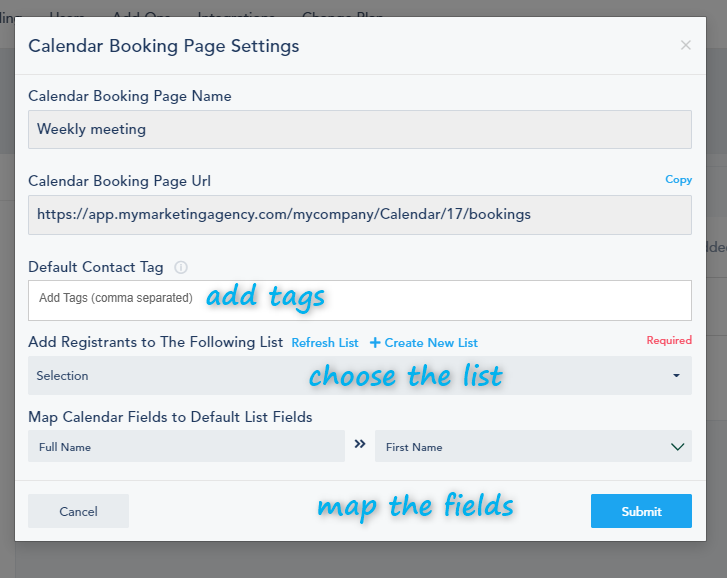
You can add tags for the contacts, choose a list and map the fields from the calendar to the list:
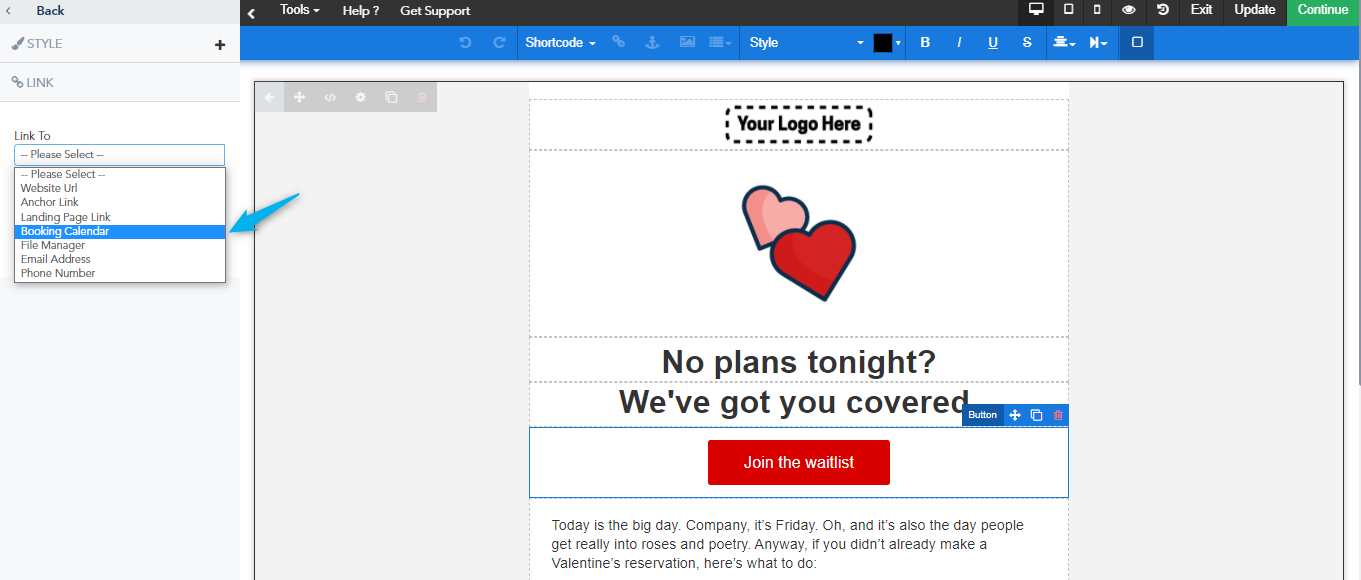
Note that you can add the link of the Booking Calendar to your Email or Landing Page by using the Link To option:
Was this article helpful?
That’s Great!
Thank you for your feedback
Sorry! We couldn't be helpful
Thank you for your feedback
Feedback sent
We appreciate your effort and will try to fix the article